Become a member
Book the studio
Private sessions
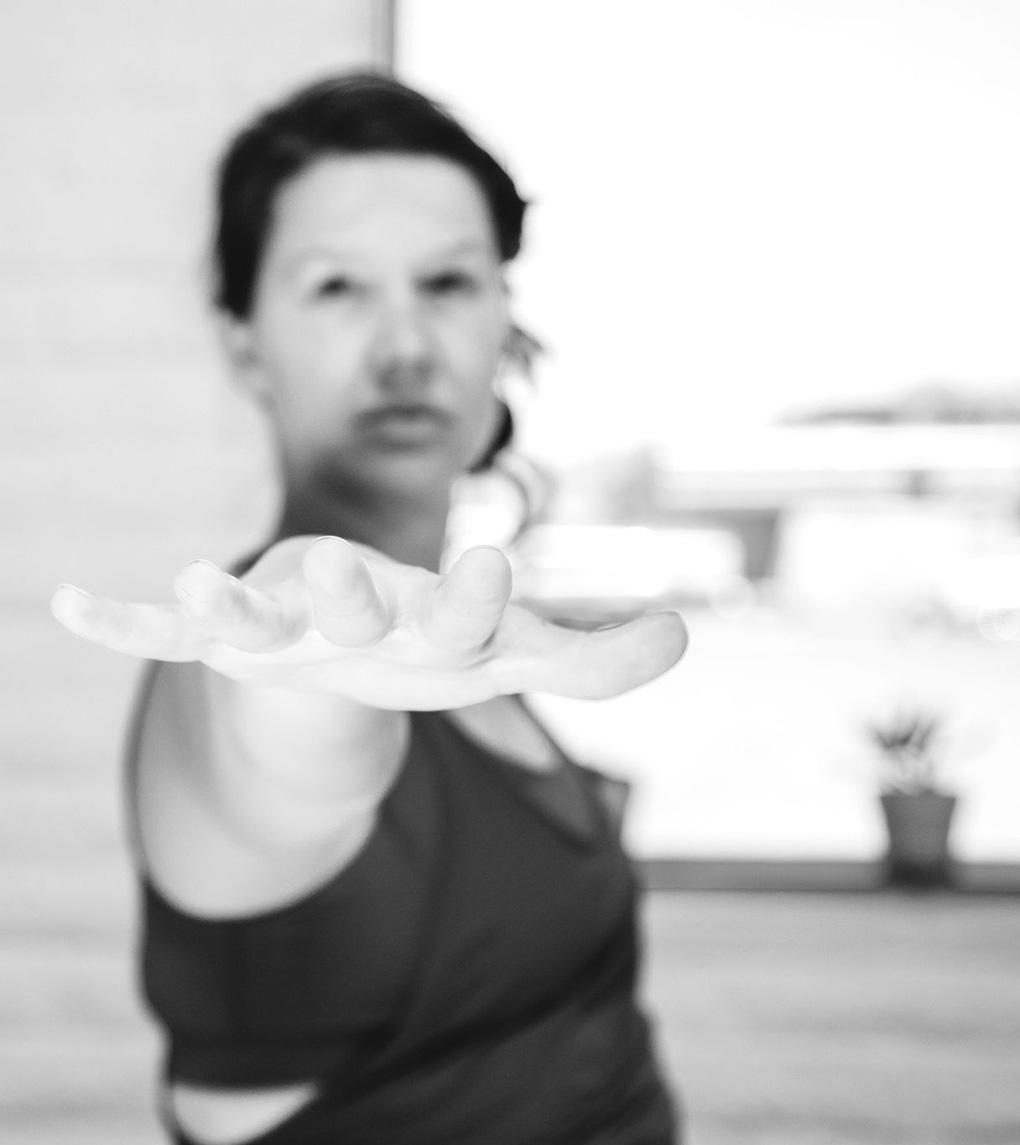
Yoga for Low Back Pain (3 Easy Poses)

We spend way too much of our day in this sort of hunched-over posture while driving, doing the dishes, sitting at our computer, and about 80% of our daily activities.
A regular yoga practice is one of the best ways to combat low back pain.
I am a big proponent of a longer well-rounded practice, but sometimes it can be challenging to fit everything into our day.
The most important thing is consistency even if it’s a shorter practice. Everyone can find 10 minutes to do a few stretches and breath on purpose. A little bit goes a long way and even if you only did these three poses for 10 minutes a day, I can say with great certainty that your back would get a whole lot happier!
Sometimes if we tell ourselves that we will just do three poses or 10 minutes, once we get on the mat, we find it hard to remember why we put it off in the first place and end up staying longer because it feels so good.
There are many poses in yoga for low back pain and I will share three of my favorites today. You can do this sequence any time of the day and in any order, but we will start with bridge pose and end with cobra pose in this blog post.
Pose #1 Bridge Pose
(Setubandha Sarvangasana) SEY-tu-BAHN-duh sahr-vahng-GAHS-ah-nuh
Setu = bridge
Bandh = lock
Sarva = all
Anga = limb
Asana = pose

How to get into bridge pose:
- Lie flat on your back with your arms down by your sides. Bend your knees with your feet on the mat toes pointing straight forward. Keep your ankles under the knees or even a little behind your knees (closer to your bum).
- Take a big breath in through the nose and out through your mouth. Notice how your back feels right now before you get into the posture (yoga is awareness).
- Take another big breath in and out through the mouth. Feel your body begin to relax.
- Rock a little side to side to “shimmy” your shoulders underneath you a bit so your chest begins to puff up. Push your arms down into the floor (exhale all the air out)
- Inhale and lift your hips toward the ceiling and keep pushing down with your arms and feet. You can keep your arms by your side (touching your ankles) or if you have space, interlace your fingers underneath your seat to open up the chest muscles a little more.
- Take 5 calm even breaths in and out through the nose with the mouth closed, keeping the jaw relaxed.
To come out of this posture:
- Slowly release your bind (if you interlaced your fingers) and lower your hips back down to the mat.
- Keep your eyes closed and notice sensations in the body.
- Repeat one more time for 5 breaths if you like.
Benefits:
- Reduces knee and back pain
- Relieves low back tension
- Stretches chest, neck, and spine
- Stimulates abdominal organs, lungs, and thyroid
- Boosts mood and relieves fatigue
- This pose can also be used in preparation for deeper backbends.
Pose # 2 Reclined Twist
(Jathara Parivartanasana A) JUT-ah-are-uh par-ree-VAR-tuh-nuh-suh-nuh
Jathara = abdomen
Parivartana = completely revolve
Asana = pose
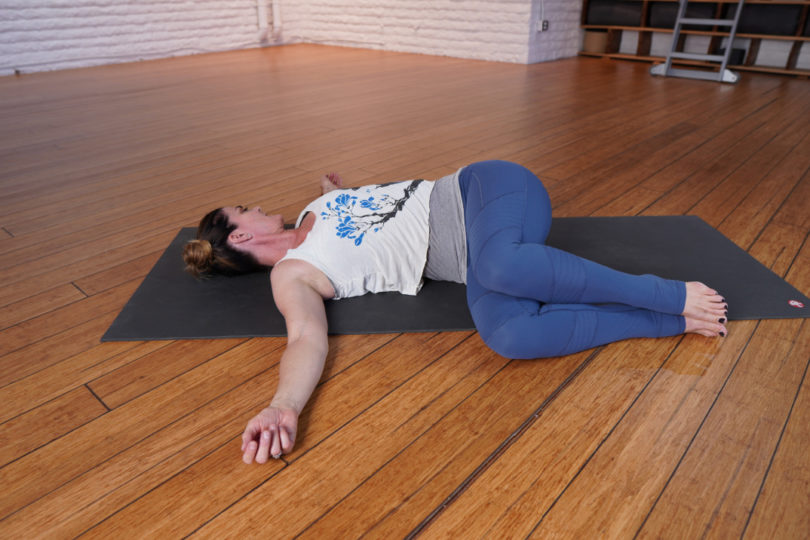
How to get into Reclined Twist:
- Lie on your back and draw the knees toward the chest above the waist. Extend your arms are straight out to the sides at shoulder level. Take a deep breath in and keep your knees above the waist.
- Slowly lower your knees to one side keeping both shoulder blades on the floor. If your knees don’t come down to the floor, that’s ok, put a block or blanket underneath for support. Do your best to keep both shoulder blades touching the floor.
- Take 5 calm & even breaths in and out through the nose with the mouth closed, keeping the jaw relaxed.
- On your last exhale as your belly is drawing down toward your spine, push down through the arms and gently lift the knees back up to the belly preparing for the other side. Take a big breath in and on your exhale slowly lower your knees to the other side keeping both shoulder blades on the floor. Use props to support you if your knees don’t come all the way down to the floor.
- Take 5 calm & even breaths in and out through the nose with the mouth closed, keeping the jaw relaxed’
To come out of the pose:
- On your last exhale as your belly is drawing down toward your spine, push down through the arms and gently lift the knees back up to the belly.
- Bring the feet down to the mat. Take a moment here with the eyes closed and notice sensations in the body.
Injuries
*Please note: If you have a back injury or degenerative discs, approach reclined twist with caution. Try putting support under the knees to lessen the intensity or skip this one altogether.
Pose # 3 Cobra Pose
(Bhujangasana) booh-jang-AHS-ah-nuh
Bhujanga = Serpent
Asana = Pose
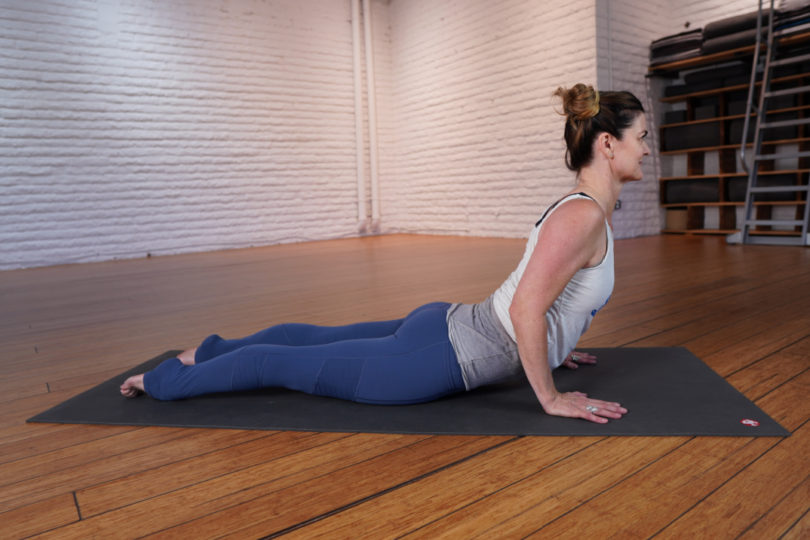
How to get into Cobra Pose:
- Come onto your belly.
- Bring your hands flat on the mat next to your rib cage.
- Your legs are extended behind you and feet about hip-distance apart.
- Push down with your feet and lift your chest keeping your legs engaged.
- Draw your shoulders DOWN away from the ears. Take a big inhale.
- Push down with your hands and feet (spiraling the inner thighs up and push down with your pinky toe).
- Keep your hip points on the mat.
- Bend the elbows slightly and look forward with a steady soft gaze.
- Take 3 – 5 calm even breaths.
To come out of the pose:
- Slowly lower your body down to the floor. Either bring your arms by your sides or rest your forehead on the back of your hands.
- Bend the knees and rock your legs side to side to release your back.
- Repeat one more time 3-5 calm smooth breaths (if you like).
- Once again, lower your body down. Bend the knees and rock your legs side to side.
- To release push back into Child’s Pose for a few breaths.
Benefits:
- Strengthens the spine and low back.
- Energizes the core muscles.
- Opens the chest, lungs, and heart.
- Helps relieve stress and fatigue.
- Tones your yoga butt. (Woot!)
Each time you practice, I encourage you to take a few moments to sit quietly in gratitude. Be grateful for what your body can do and know that each time to get on your mat you are connecting to the infinite wisdom that resides within you.
Your body has all the answers if you will take the time to listen.
Get the Grit—inspiration & yoga tips
"*" indicates required fields

Copyright ©2020 Ironwood Yoga Studios | Site made with love by Jamie Leigh | Gift Cards | Donate | Login


0 Comments